Rendering a basic scene using Three.js

Introduction
To render any scene in Three.js we need the following things:
- Scene
- Camera
- Light
-
Object
- The geometry of the object
- The material of the object
- Mesh of the object
Let us try to understand each of the components one by one.

Camera
The camera is like a camera in our world and we can see through the camera to our universe. The camera has the following components
- FOV: Field of view, the angle of our view into our universe
- Aspect ratio
- Near view
- Far view
So we define the near view and the far view of the camera and the camera can show objects which are inside the view. If an object lies outside the view then the object would not be shown. For example, if the near is 1 and far is 1000 and you place an object at 0, then the object would not be seen. This is one common source of confusion that users face.
Scene
The scene is like a tiny universe. We add object/items in the scene as in cat/dog/human/assets/circles/boxes/lines everything.
Light
Until there is a light we won't be able to view any assets in our world, which means we won't be able to view boxes, circles, or anything.
So it may happen that you have placed an object in the scene, but the object is not visible, chances are you forgot to add light in your scene.
One exception to this rule is MeshBasicMaterial which can render without light.
Object
By object, I mean any 3D object in your scene. This means box/torus/lines etc. To define an object we need geometry, material, and mesh.
To create a cat, we need a cat geometry, for the box, we need BoxBufferGeometry, and so on. Next, we need to cover the geometry in a material. We can use the MeshBasicMaterial, but the problem is it does not reflect light.
So we can use another material called MeshPhongMaterial. This looks better.
const object = new THREE.mesh(geometry, material)Math Terms
To represent a point on a 1D plane we use real numbers.
To represent a point on a 2D plane we use complex numbers.
To represent a point on a 3D plane we use quaternion.
To rotate a point in space we can use quaternion and Euler angles.
The AXES
The following axes are used in the coordinate system. The x-axis, y-axis, and z-axis.

The positive z-axis comes at you and the negative z-axis goes away from you into the screen.
Notes
The renderer we usually use is WebGL render and the camera we use is PerspectiveCamera. The Perspective camera gives us a view which we are used to seeing. All the activities that happen inside the renderer happen inside a canvas and we can access the canvas using renderer.domEmement.
Setting the device pixel ratio
While working with our views we need to set the pixel ratio properly otherwise it will not look nice when rendered on a high-density display such as retina displays.
Animation Loop
Let's talk about the animation loop, any time game/canvas related operations have an animation loop, this is a loop that executes a render method and the render method paints a canvas,
The same is the process with canvas API / Three.JS / p5.js and other libraries. In the case of Three.JS, we call the renderer method's .render function to render the scene with the camera.
Examples
-
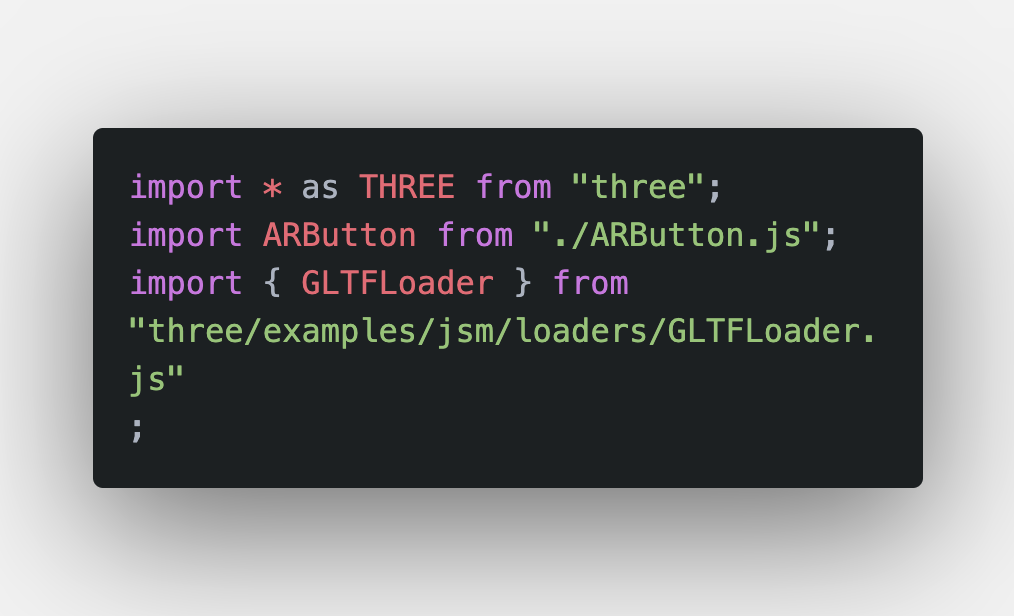
First, let's import a few modules which we need.
 You will find usage of ARButton in a lot of examples, this is a component that does the following:
- Renders a button on your screen
- Detects if XR is support
- If support then it opens sessions and can pass in custom args such as 'hit-test'
- If XR is not supported it shows a button stating XR is not supported.
It's nothing that cannot be done, it just simplifies the process.
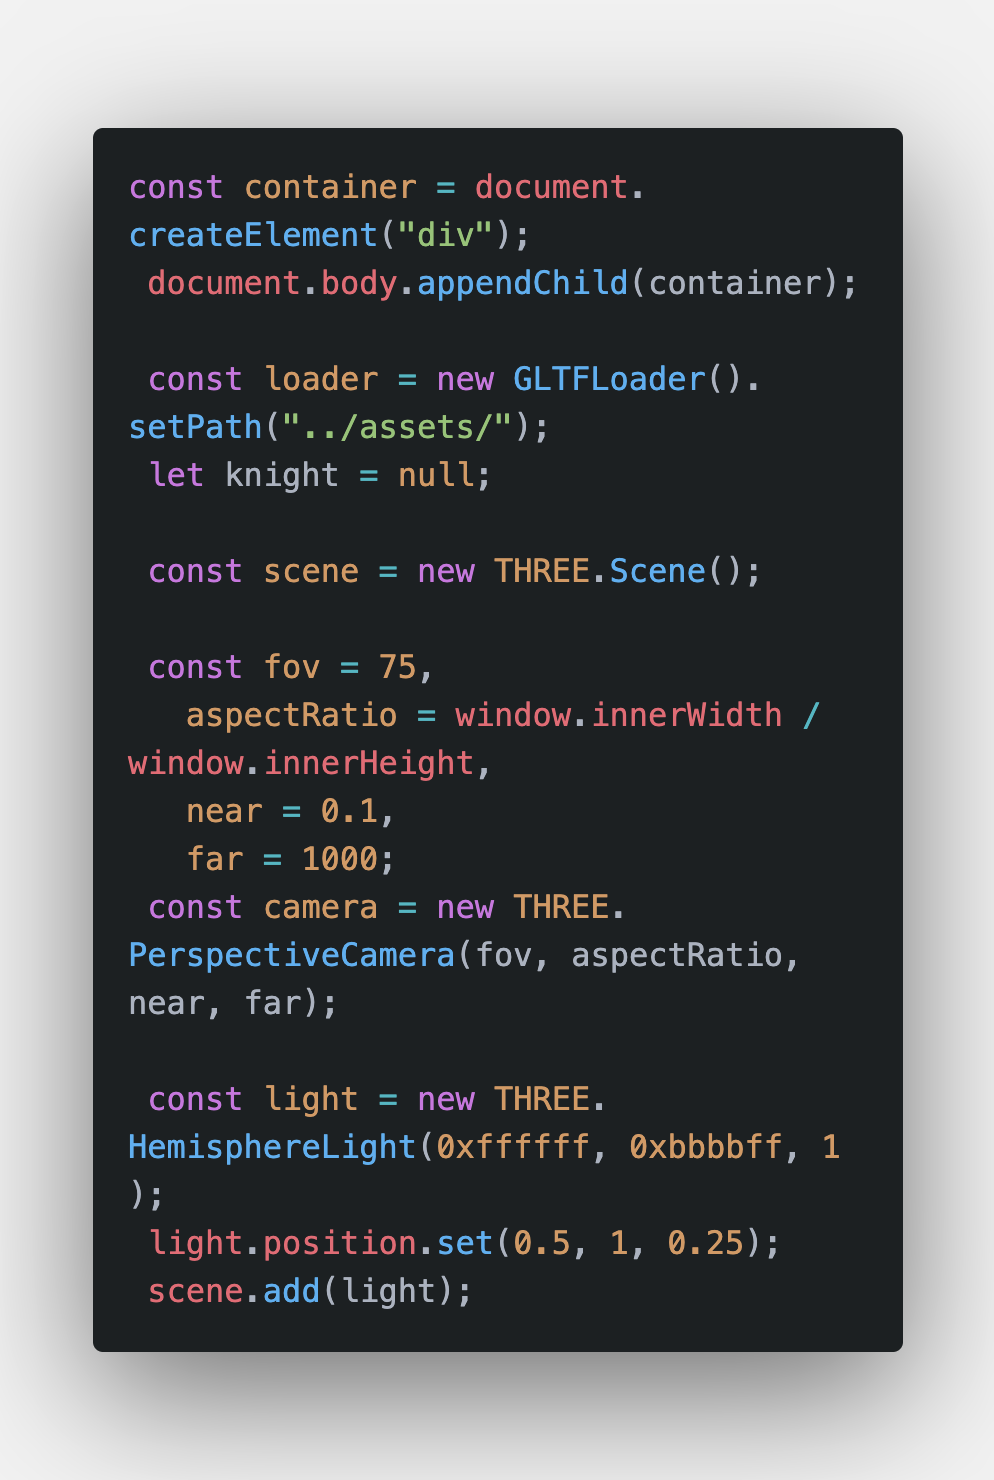
- The following code creates the DOM nodes required, scene, camera and attaches the same to the scene.
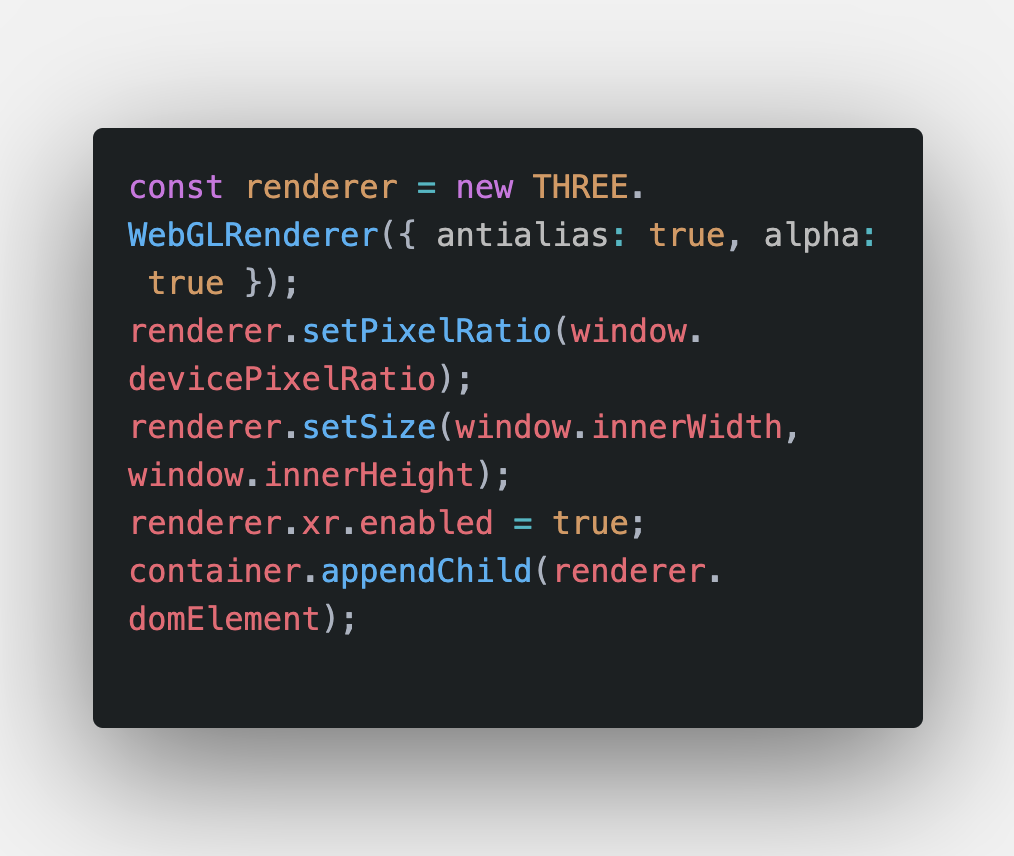
- Defining the renderer
- Attaching the AR button
- Attaching a circle in the scene
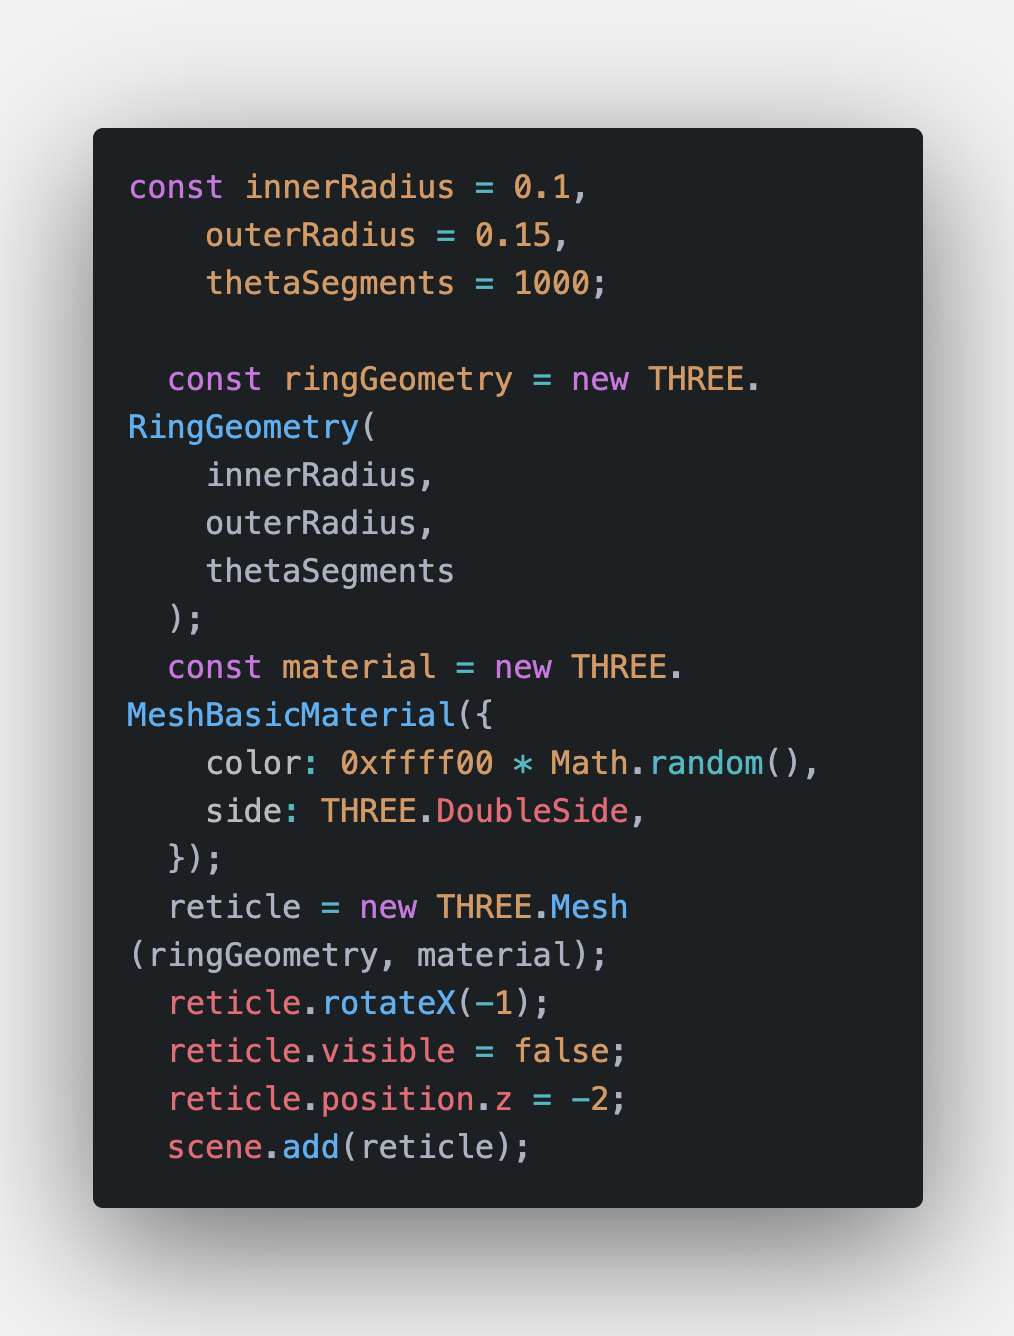
- renderer.render(scene, camera)
That's basically it for rendering a simple asset on a screen.